0 members and 10,424 guests
No Members online

» Site Navigation

» Stats
Members: 35,442
Threads: 103,075
Posts: 826,688
Top Poster: cc.RadillacVIII (7,429)
|
-

Yo everyone I'm a new member but I am too lazy to introduce myself -_- ...
But anyway here is a tutorial that improves ur sig a bit =)
And this is my first tut ever so be nice ^^;
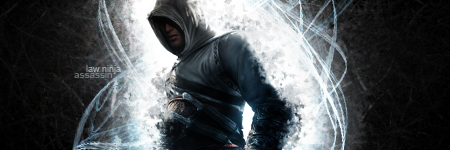
First off pick a sig that is already done.
Here is one of mine:

1. Now first off marquee the sig by pressing ctrl+A
2. Copy the sig by pressing ctrl+C
3. Paste it by pressing ctrl+V
4. On this new layer go to Filter>gaussian blur and choose from 1,7 - 2,5 Radius. I chose 1,8.
5. Now go to the blending option and choose overlay.
Done
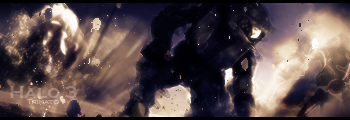
My outcome:

And I also used another color on the new layer just for fun.
The outcome:

Ok that was the end of the tut. I hope u liked it =)
-
Nope bad, small difference but every little helps :P
-
This technique is also used for improving the quality of renders.
-
i use that all the time for improving the renders i use, it really gives it lots more depth and color
-
nice! 
-
Wow, I outta try using that. 
-
-
Simple and cool  , Thanks. , Thanks.
-
ye i know a good effect too..
make a new layer, go to image>apply image ,set ur smudge tool at 100% , than smudge ur whole sig. finally set the blend mode to soft light.
seeya.
-
That's very basic but it's a good effect non the less
Similar Threads
-
By Greg in forum Digital Art
Replies: 8
Last Post: 04-19-2005, 09:04 AM
 Posting Permissions
- You may not post new threads
- You may not post replies
- You may not post attachments
- You may not edit your posts
-
Forum Rules
|


 Reply With Quote