0 members and 26,370 guests
No Members online

» Site Navigation

» Stats

Members: 35,442
Threads: 103,075
Posts: 826,688
Top Poster: cc.RadillacVIII (7,429)
|
-

Step 1

Create a new image, and select the colors you wish to use (I suggest a dark/light of the same color). Render Clouds, then use the extrude filter and use the above settings.
Step 2
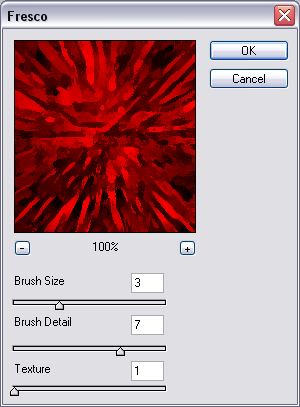
Use the fresco filter with the above settings.
Final Product
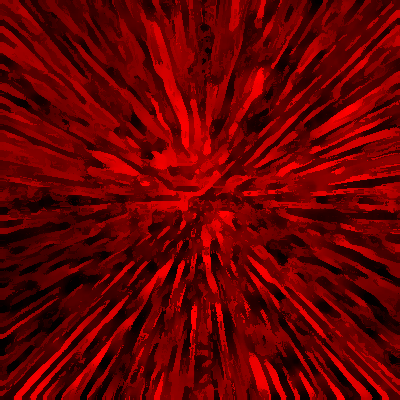 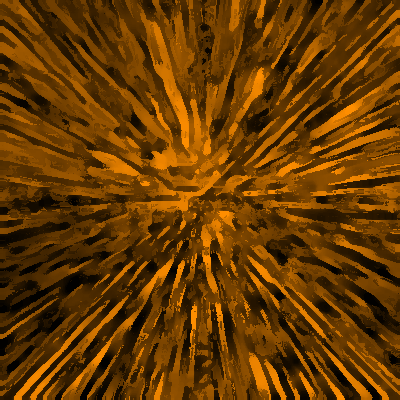
If you have any questions, please post below! If you enjoy our community, we encourage you to register!
-

Wow! Thats something I haven't seen before! I like it but I think that there would have to be more to make it look even more grunge. This is what I did after following your tutorial:
1)Duplicate layer
2)Filter/Sketch/Graphic Pen < I used Default settings
3)Filter/Blur/Gaussian Blur < Set Radius = 2.1
4)I set Blend Mode to "Linear Burn"
This is my result 
There isn't much difference, but it is noticeable. Tell me what you think!
-

It's a lot darker and more grungy, I agree. I like the difference. Thanks m8.
-

 Your welcome! Couldn't have done it without your tut! :lol: Your welcome! Couldn't have done it without your tut! :lol:
-

dis is mine

very nice tut 
-

Wow, thats cool.
Has a kind of Painted look.
-

LMAO dude ya made my day
everyone has like smaller icrures and you come with a big one like that lmao
no offence though
-

hehehe, should I post my result too?  , Nice tut anyway TacoX , Nice tut anyway TacoX
-
-

This is my outcome, not really grungy, but neverless a nice image i thought:

I followed the tut, and then:
Added spatters
Replaced dark color for white
Added radial blur
Similar Threads
-
By Ravon in forum Other Tutorials
Replies: 63
Last Post: 06-08-2009, 04:11 AM
 Posting Permissions
- You may not post new threads
- You may not post replies
- You may not post attachments
- You may not edit your posts
-
Forum Rules
|


 Reply With Quote
 Your welcome! Couldn't have done it without your tut! :lol:


