Hey There Id Like To Say thanks For Visiting My First ever Tut.
you dont have to follow my tutorial fully you can be as creative as you like this is just a guidline.
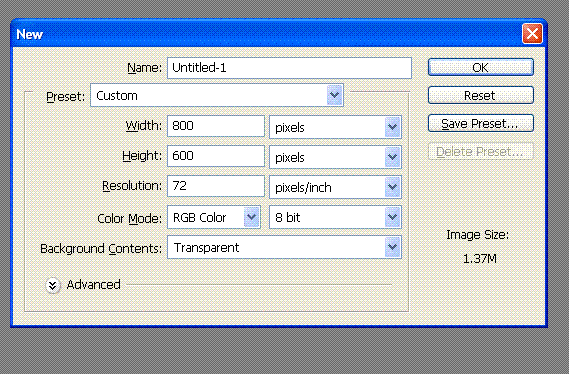
Ok So We Start Off By Opening Up a new Document It All Depends On Taste Here Ususally people Would Use 800x600px. Im Using A Transparent Background just Because My Baground On My Actual Proflile Is A Pattern.
Make Your Setting Like Below
Oh look we have a blank page, time to liven it up a little hmm what do we need. a rener or a stock? ok right so go to one of the folllowing sites
www.planetrenders.net
deviantart.com
or any other good render/stock sites.
i think im going to do a grenday profile so im going to use the american idiot logo. The Better the image Quality The Better The Outcome. so a png is best i think (small filesize, good outcome)
if you want to use the image i found here is the link
http://en.wikipedia.org/wiki/Image:G...ricanidiot.png
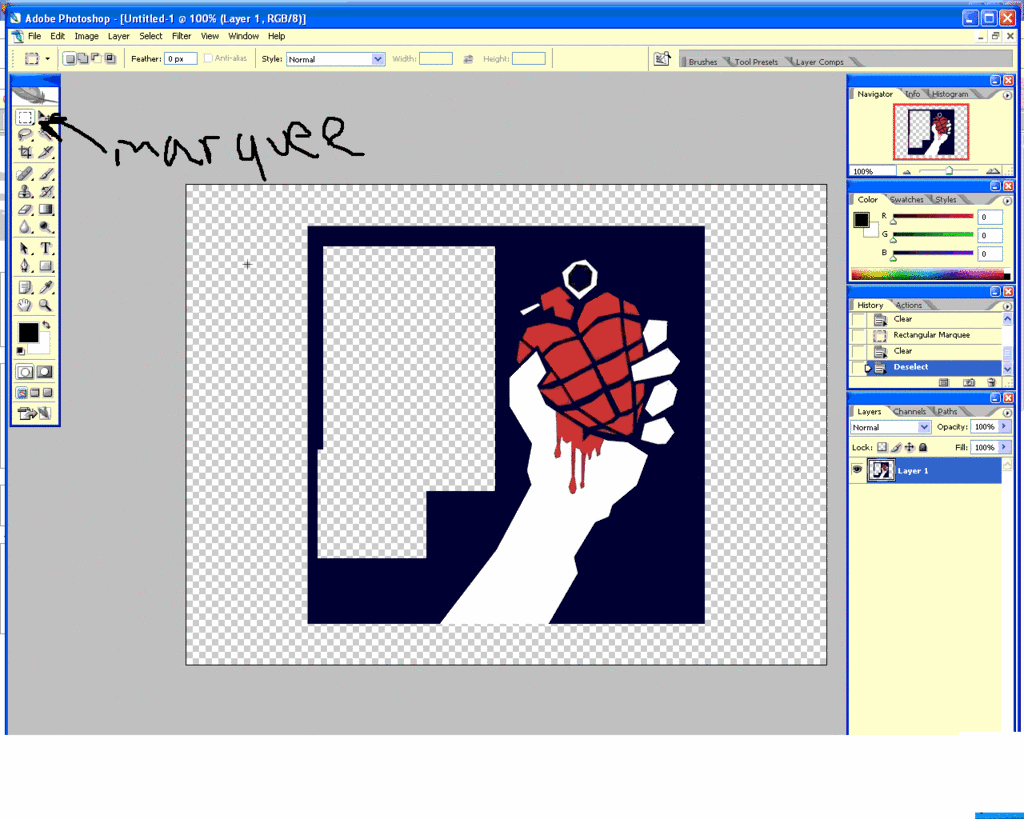
unfortunately it has the writing around it which i dont want, you might but i dont. so im going to cut that out by using the rectangular marquee tool.
i now have this
shame about the trannsparent boxes, lets fill them up using the eyedropper tool pick the blacky blue color and fill it in.
the image is a bit big, so im going to resize it by going to edit>>transform>>Scale and dragging in one of the corners.
now We Might Want To Frame It Off. so click on layer>>layer style>>stroke
Use Whatever Settings Seems Best I Used
size: 10
(all default settings underneath but..)
color: bd2f2f
then all we need to do is position it i put mine in the top left
first part done!
part Two
you might want to title your profile i named mine greenday and well i found the greenday text. located here
http://content.answers.com/main/content/wp/en/3/39/Green-Day-%28American-Idiot%29-logo.png
your going to need to save it then open it because of some wierd thing going on. (makes a black rectangle)
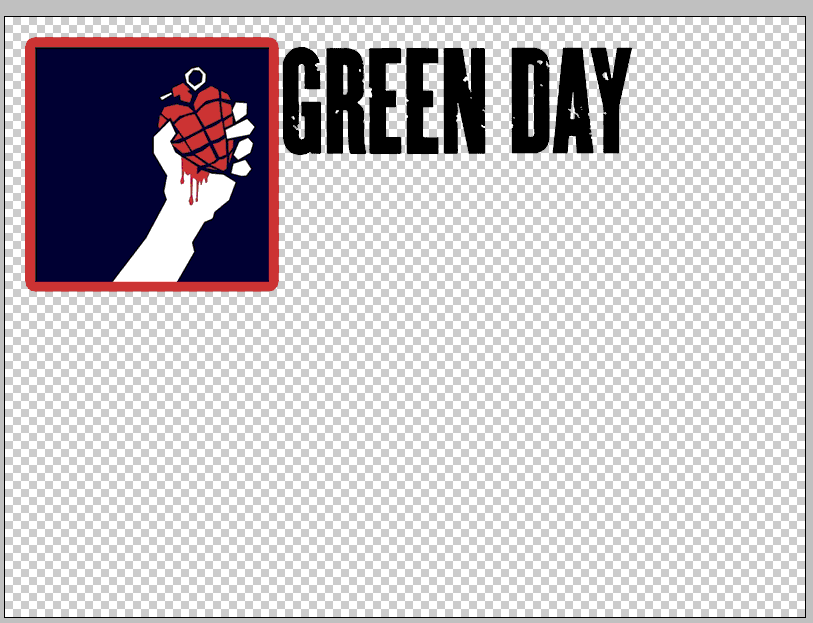
and now you should have something like this!
we need some sections right? just get out your rounded rectangle shape tool radiuse set to 10px. and make some sections.
once done rasterize them by rightclicking on the layer and clicking on rasterize.
then merge the sections together by clicking on the top section and pressing ctrl+e. keep pressing untill all the SECTIONS are merged together.
now go to
layer>>layer style>>stroke
and use these
size: 10
(all default settings underneath but..)
color: bd2f2f
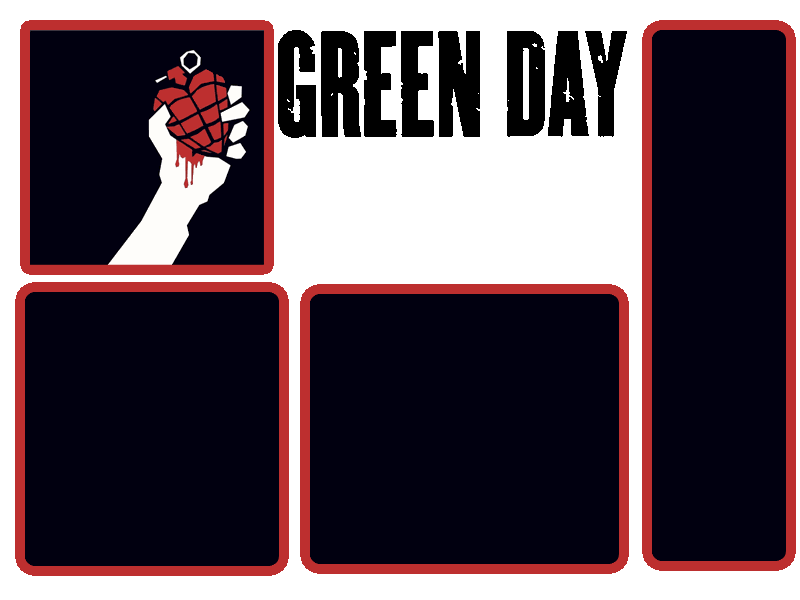
heres my end result!
hope you like it!


 Reply With Quote


