In this tutorial, we are going to learn to easily create brushed metal. This tutorial will work from Photoshop 7 to the current version. Let us begin. First create a document of 500px square and then put a linear gradient over it with the colours: 554c51 and 867f8f, the ligher of the two being at the top as is demonstrated here.

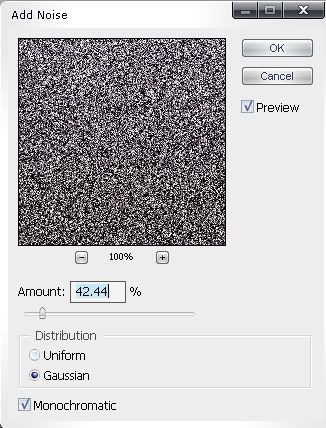
The next step is to duplicate this layer and then go to FILTER > NOISE > ADD NOISE and then input
these settings.
Now, use the rectangular marquee tool to edit off each side of this layer like i did here.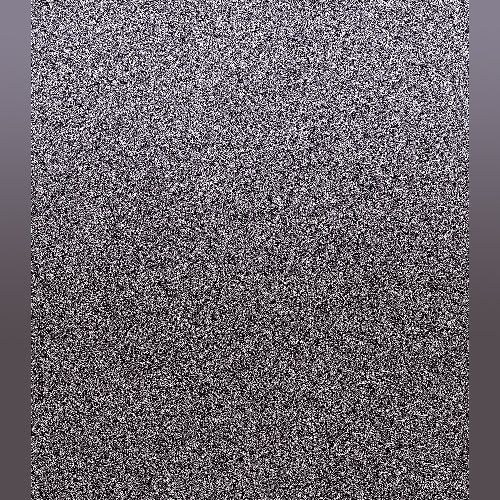
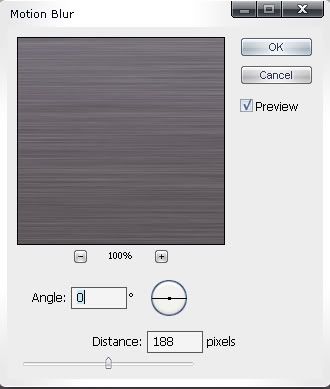
Now, go to FILTER > BLUR > MOTION BLUR and input these settings.
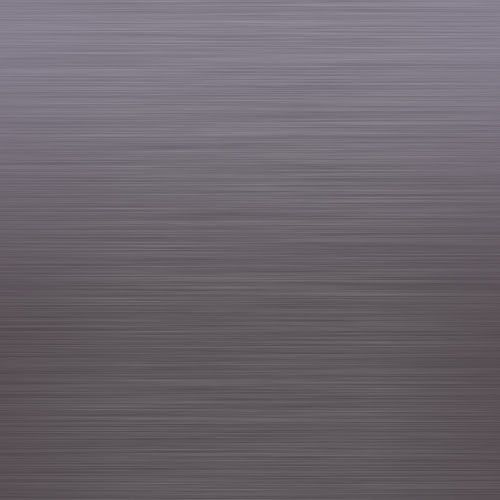
You should now have something like this:
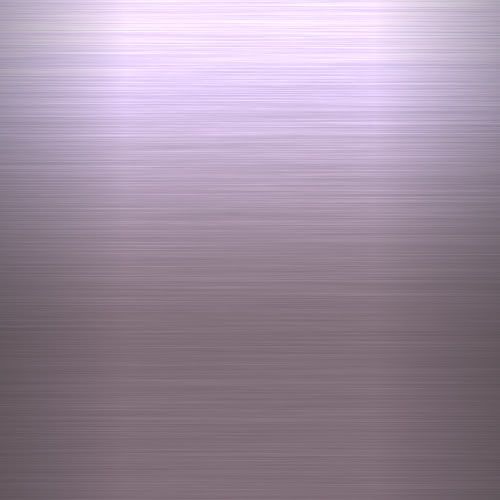
All that remains is to change the layer blending mode to Colour Dodge and reduce the opacity to 89% (just to take the bright edge of it) and then you're done.
Looks like this.
And experiment too!


 If You're not A Filter-Monkey, Copy this into your sig!
 Reply With Quote
 i liked it