0 members and 1,061 guests
No Members online

» Site Navigation

» Stats
Members: 35,442
Threads: 103,075
Posts: 826,688
Top Poster: cc.RadillacVIII (7,429)
|
-

Okay... heres the tutorial for making a patch in Photoshop.
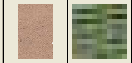
The key to this will be getting good textures.

Open that in Photoshop and take some textures like I have...
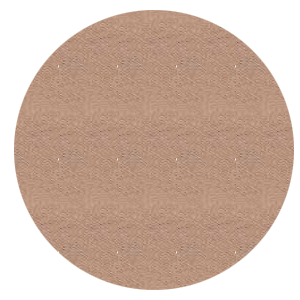
Once you have created the textures that we will use, create a new 300x300 document
With transparent BG.
Use the elliptical marquee tool and set it to fixed size 280x280, then position it in the center of the document
Fill like this...
Then it gets a little tricky... we are going to create a new layer, but keep the first selected... then select>modify>condense 5px And then invert the selection (shift+crl+I)
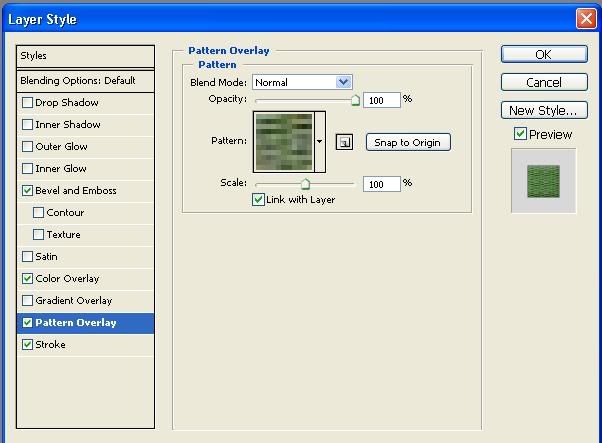
On the new layer fill the inverted selection with the greenish pattern
Deselect and ctrl+click the first layer in the layers box... it is now selected... now inverse it again, and go go the second layer and Delete, it should now look like below...
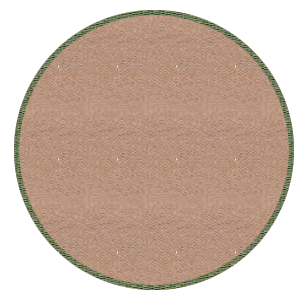
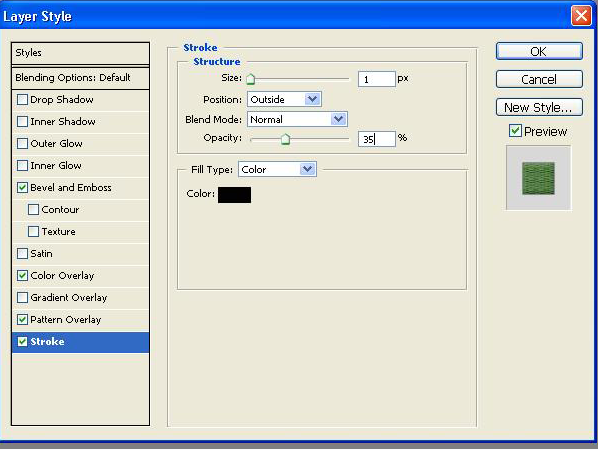
Give your ring layer a 1px black stroke on 50% opacity...
continued next post
-
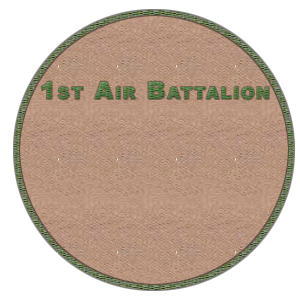
Now for the text... i used Arial Black for that nice blocky look... type your text on the patch, then go to blending options and use these
Settings...
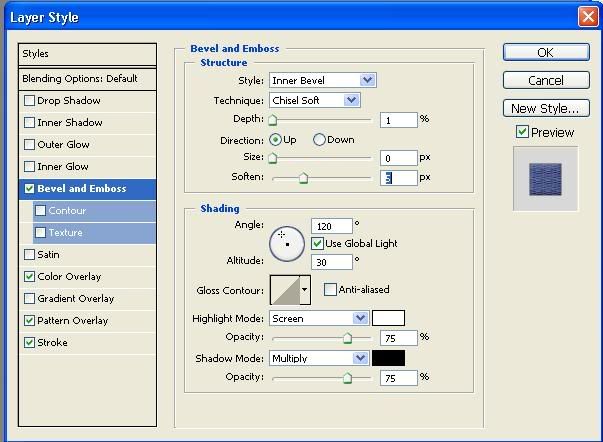
Ok now it should look like this
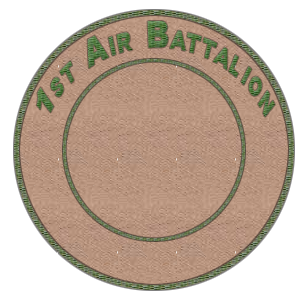
So we have to give it that curve that military patches do. Select your text, and click the "create warped text" button at the top of your
Window. Depending on how long your text is, and how big, the arch will be different sizes, for my text, I used this. I also used vertical Distortion to counteract the natural distortion
 Now I am going to add an inner ring like some military patches have. Go to the layer tab, and select your layer with the outer ring on Now I am going to add an inner ring like some military patches have. Go to the layer tab, and select your layer with the outer ring on
It. Duplicate it, and hit ctrl+t while holding shift to re size it. If it is off center, then control+click your first layer, then select the inner
Ring layer, and go to the move tool, and at the top where you see these tools 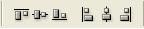
select the two that are "Align vertical center" And "Align horizontal Center"
Now it should look like this:
continued next post
-
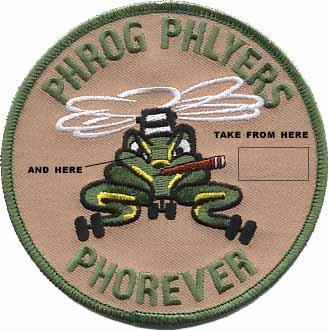
Now I want to add a picture in the center of my smaller ring, you can add text, using the methods above.
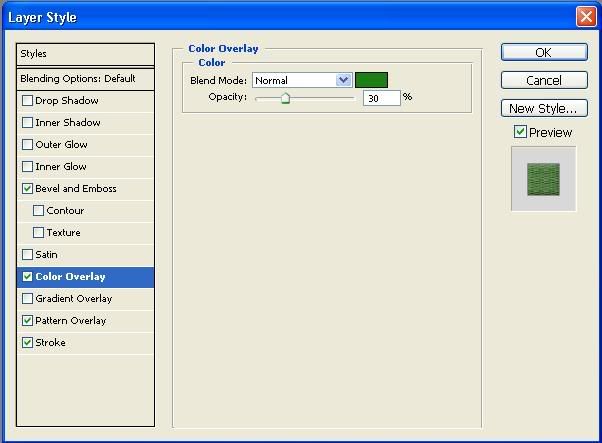
Find a small, suitable logo or clean picture to use, and cut it out. Make a new layer, and paste it on there. Then copy the layer style
From your text, and paste it to the layer of the logo, now it looks like your text, you may want to tweak the color a bit by going to the
Color overlay and changing it. Mine now looks like this:

You can add more text on the bottom if you like using the same layer style for that, and play around with the bevel and emboss to
Make it look more real, for my bevel/emboss, I used chisel hard, with size 5 and soften 10, but its up to you.
My final product looks like this:

This is another one I made with the same principal, only changing the blending style of the background, and duplication of certain
Layers for desired effects.

Good Luck!
enjoy
-
nice effect 
Original Climb-X Co-Founder
-
-
nice tuts dude GJ
-
Liking the effect, keep it up.
-
wow nice 
 Posting Permissions
- You may not post new threads
- You may not post replies
- You may not post attachments
- You may not edit your posts
-
Forum Rules
|


 Reply With Quote


