0 members and 650 guests
No Members online

» Site Navigation

» Stats

Members: 35,442
Threads: 103,075
Posts: 826,688
Top Poster: cc.RadillacVIII (7,429)
|
-

Step 1
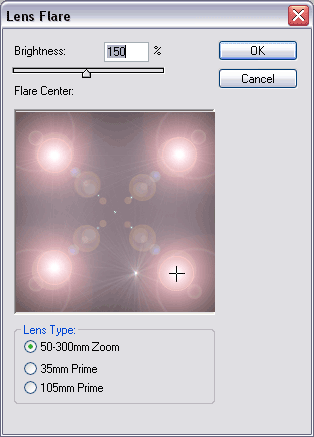
Create a new image, and press D to set default colors. Fill in the background with black. Select the lens flare filter and create four lens flares in the corners like above.
Step 2
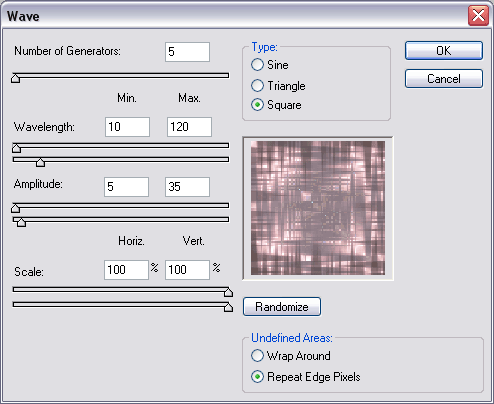
Select the wave filter, and use the above settings.
-- Above From Abstract Boxes Tutorial
Step 3

Duplicate your layer (CTRL+J), set the blending mode of the new layer to color burn. Select the polar coordinates filter and use the above settings. Merge Down (CTRL+E)
Step 4
Duplicate your layer (CTRL+J) and select the blending mode to lighten.
Final product
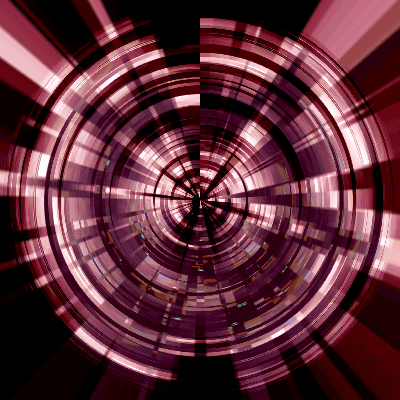
If you have any questions or comments, please post below! If you enjoy this tutorial, we suggest you register and post an introduction!
-

Might i suggest putting a small gaussian blurr on it that way, where the two parts meet, you wont see gaps as much.
Oblivion

-

very nice.
i am goin to try it out now
-

pretty :P , I'll try it out right away 
-

nice tut man
BTW nice sigs dolive and jerner 
-

Originally posted by slovy@Jan 28 2005, 03:52 AM
nice tut man
BTW nice sigs dolive and jerner 
[snapback]2575[/snapback]
 thanks, your's very nice too thanks, your's very nice too
-

Brilliant! Really handy for everything that wan't to look high tec and stuff...i'll try it out and see what i get.
-

thats really coool looking..
even some of the steps look really neat by themselves
-

Yeh i lile the result on it ^.^ Gj Taco
-

o.O
looks great cant wait to try it out 
Similar Threads
-
By gugge in forum Digital Art
Replies: 10
Last Post: 06-19-2005, 07:44 PM
 Posting Permissions
- You may not post new threads
- You may not post replies
- You may not post attachments
- You may not edit your posts
-
Forum Rules
|


 Reply With Quote


