


Snowing glitter.
This is my first image ready tutorial and in this, Im going to show you how to make glitter fall like snow. You can also use this technique to make falling snow too. >_>;
This is the finished product.
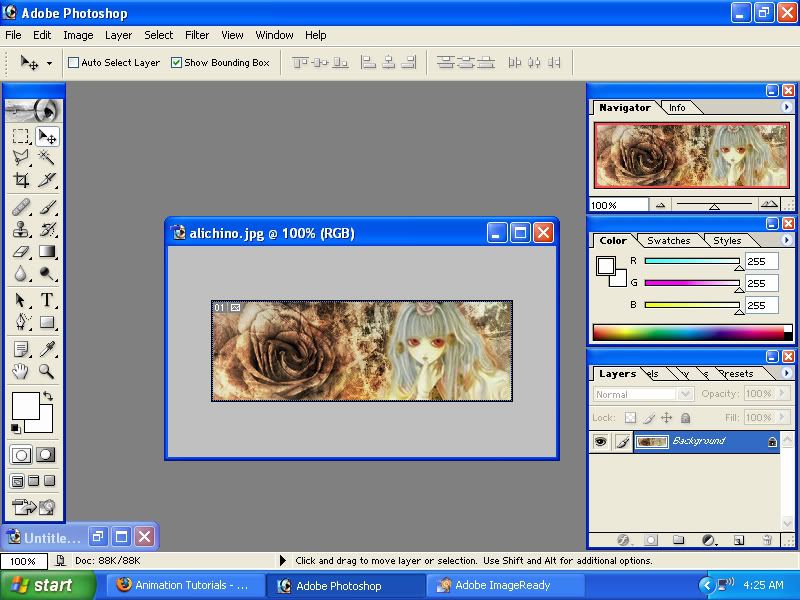
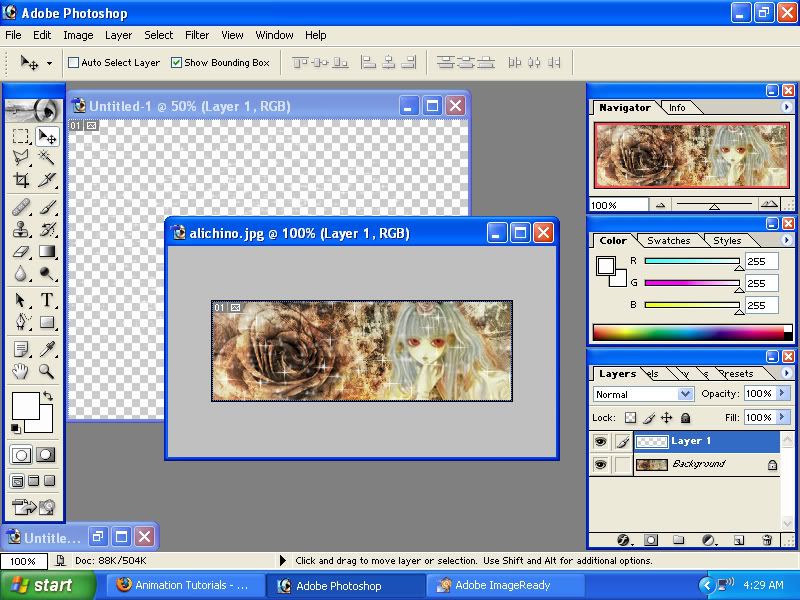
First, start out with a picture or signature youd like to make falling glitter on. I chose this one.
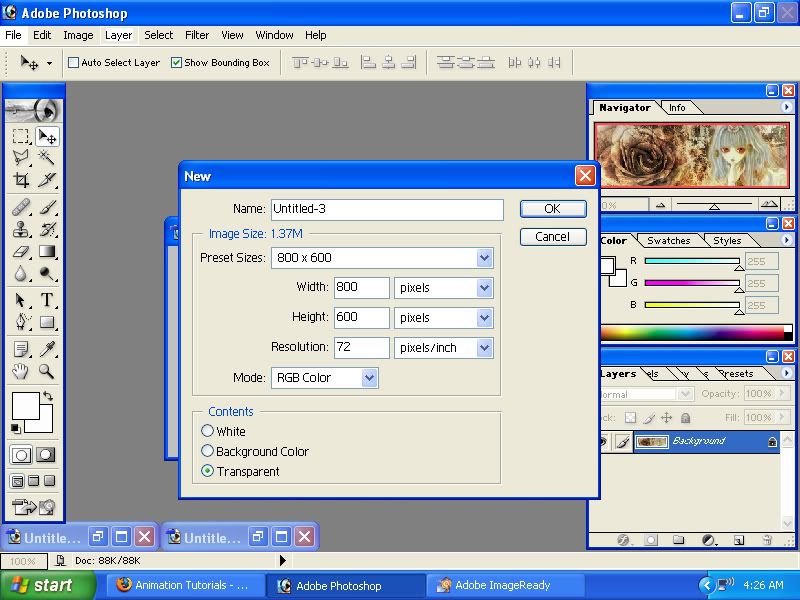
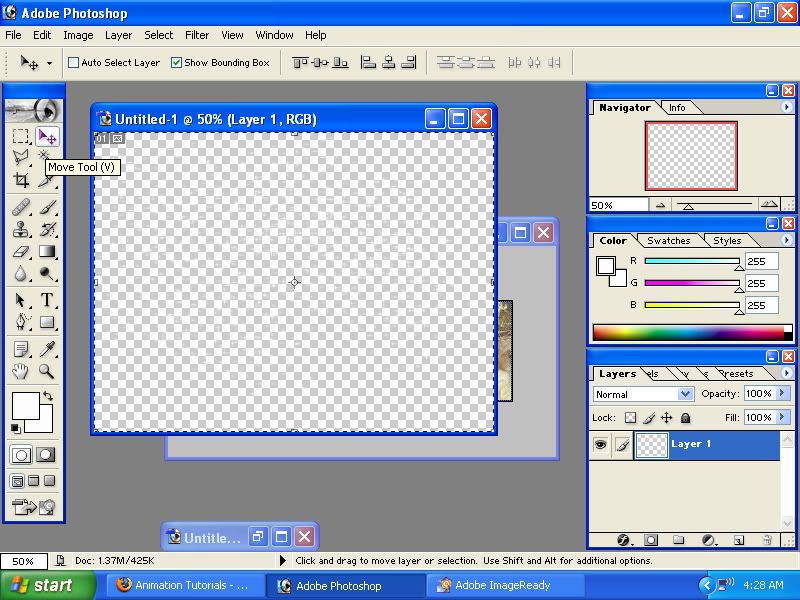
Open up a new transparent file, any size between 500x500 to 800x600. I used 800x600.
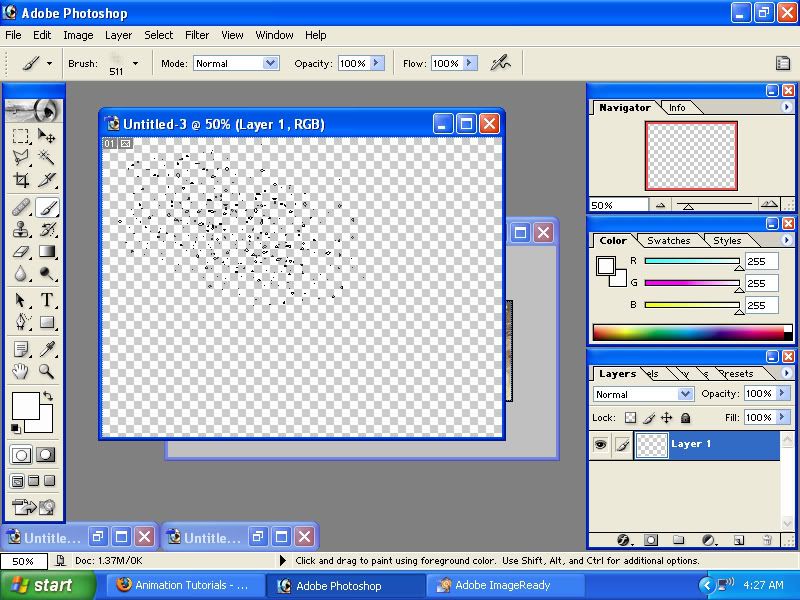
Take a glitter-like brush with white foreground color and brushed it randomly together 4 times. Dont brush too close to each other or too far apart, it might show up later in your work.
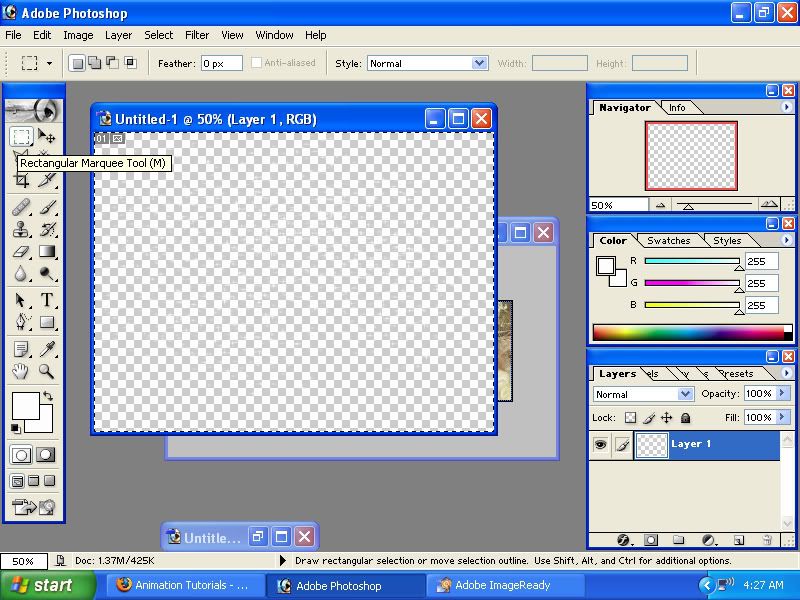
Next, select the rectangular marquee tool. (Or press m) and select the whole 800x600 picture.
Select the move tool next. (Or press v) And move it to the your choice of sig/picture.
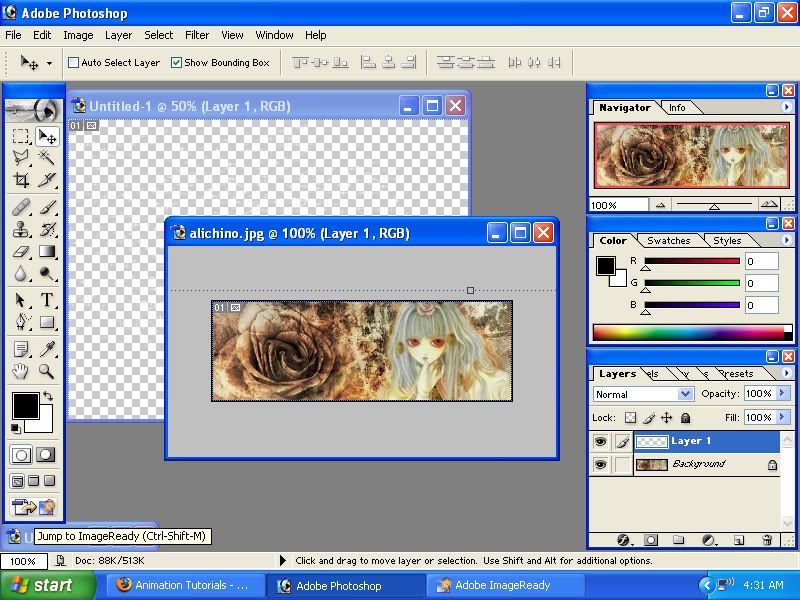
Move the first layer up and out of the view of the picture. The dotted like represents the first layer.
Then go to image ready.
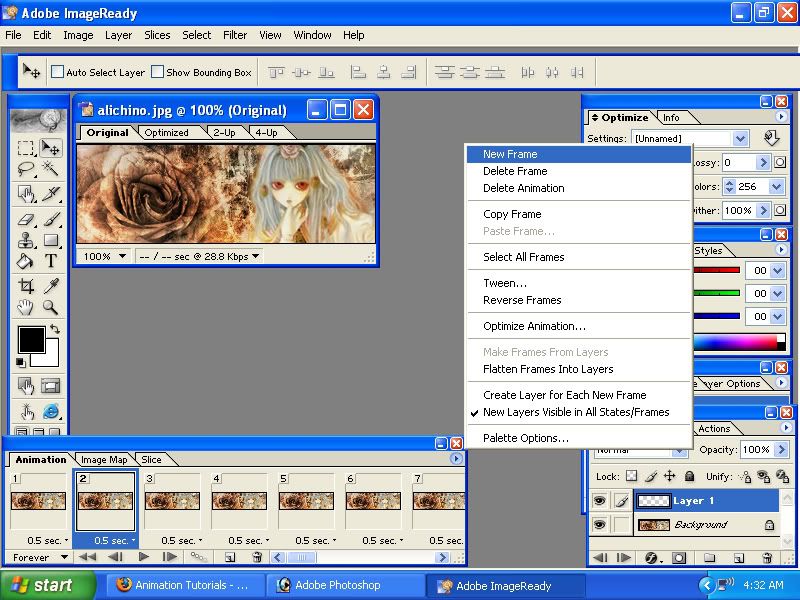
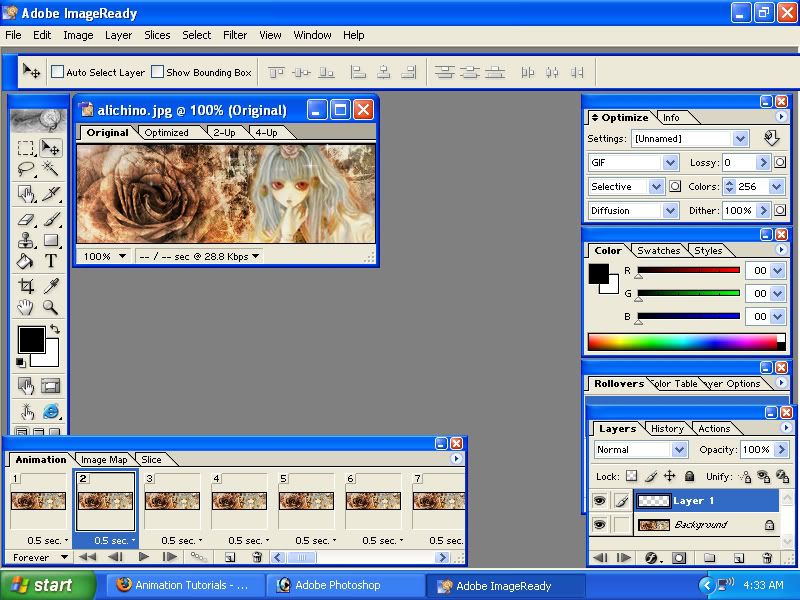
Have animations box out. (Window > animations) and click the top right corner of the box and select new frame. Or be like me and create a line of frames.
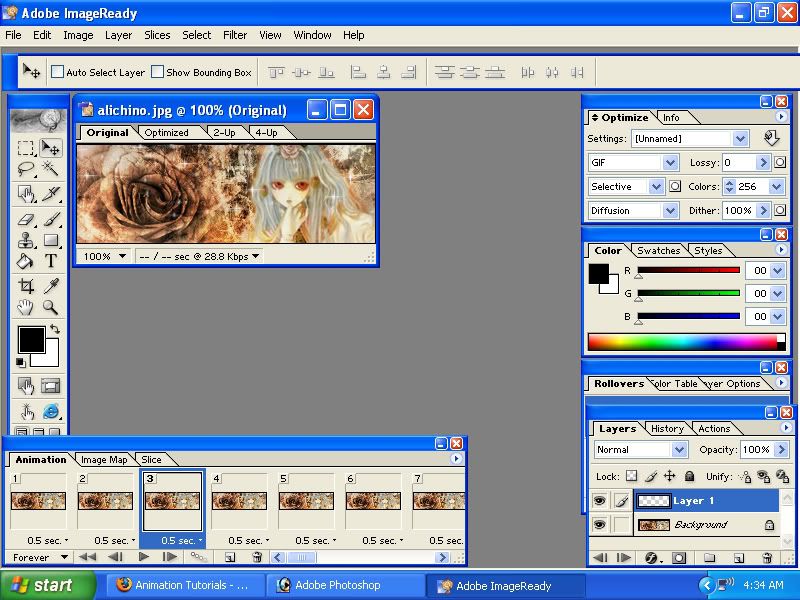
Take the move tool and slowly move the first layer down in each frame, little by little. Keep repeating until you reach the end of the first layer.
I set the time delay to 0.5, but you can use whichever one you prefer. When you're done, all there's left to do it save and use. o_o;
Enjoy.


 Reply With Quote