


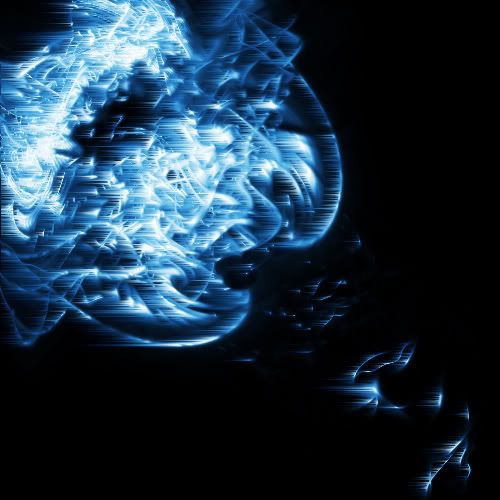
this time im going to show you how to make an image like this:
first we make a new document (i used 500 x 500px) and fill it with black for the background.. duplicate the layer with cntrl + j..
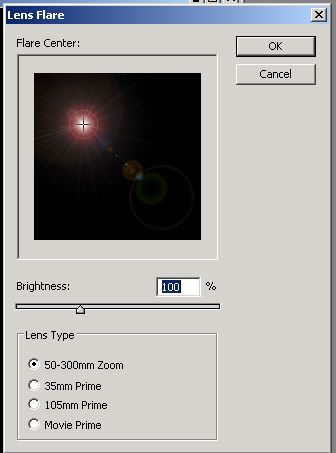
go to filter> render> lens flare and use these settings:
(make it around that area)
next we go to filter> sketch> chrome and use these settings:
set the blending mode to lighten, merge the layers (cntrl + e) and duplicate the merged layer 6 times.. (cntrl + j again)
now go to filter> distort> wave with default settings and hit randomize a few times.. do this for 4 layers..
on the second last layer go to filter> distort> twirl and set the angle to -150..
on the last layer go to filter> distort> twirl again but this time set the angle to 150..
merge the layers by pressing cntrl + shift + e and colourize the picture by hold cntrl + u.. and click the colourize box first..
settings:
hue: 205
saturation: 45
lightness: 0
this time we go to filter> blur> gaussian blur and set the radius to 3.0 ..
leave it like this because it will be fixed..
now go to edit> fade gaussian blur and make the settings as follow:
opacity: 100
mode: overlay
i thought it looked better to add filter> stylize> wind at default settings..
but anyway heres what i came up with at the end of the tutorial:
please post results..


 Reply With Quote