


Heres the final product i got.
Step 1
I used a 500x500 px canvas for this project but feel free to use any size.
Start out first by filling the background with solid black.
Step 2
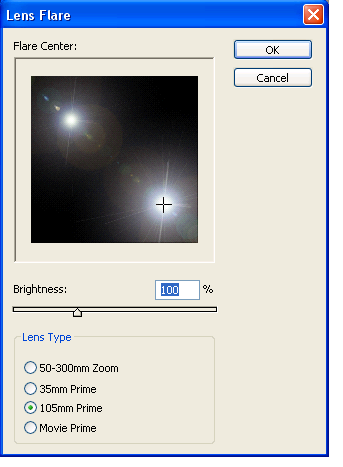
Next we need to put lense flares in.
while still on the background layer go to filter>render>lense flare
We are going to use the following settings:
100% brightness
105mm Prime
We're gonna stick that in the lower right corner.
Then we are going to do the same thing but on the the upper left corner.
Step 3
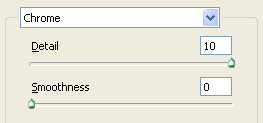
We now need to chrome these lense flares by going to filter>sketch>chrome
We are going to use:
10 detail and
0 smoothness
Step 4
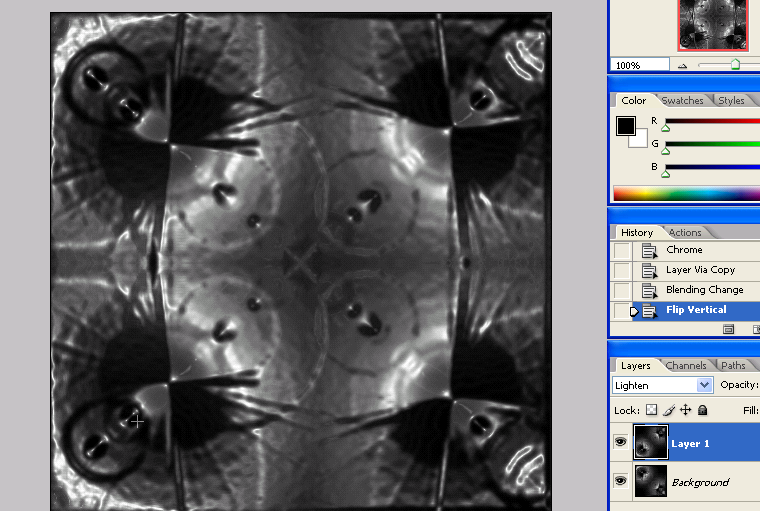
Now lets copy the background layer.
We are going to set the blending option to lighten.
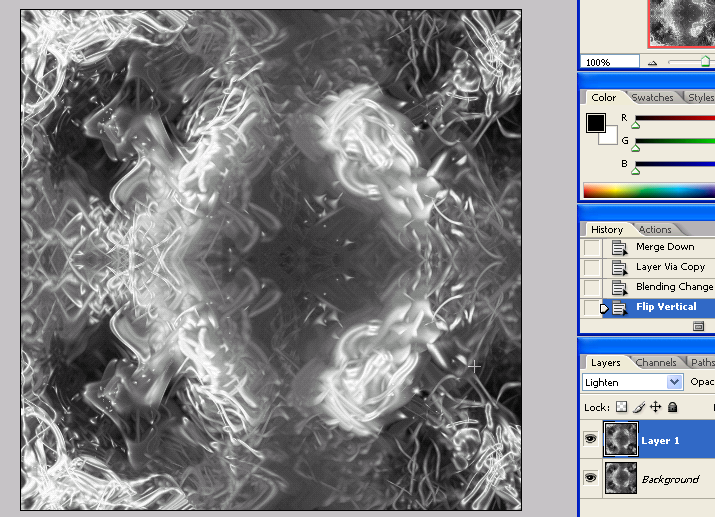
Now go to Edit>Transform>Flip Vertical
Step 5
Now we are going to make 3 copies of both the background and the duplicated layer.
We are going to add a wave effect on all of the layers except the two originals.
We will do this by going to filter>distort>wave
use the default settins just hit randomiz a couple times.
I try going for the rigid ones. But feel free to try with other waves.
after we have all the waves done we need to lighten every layer.
(excluding the two originals since the background can't chage blending mode and the duplicated layer should already be lighten.)
After all thats done we are gonna merge the duplicated layers of the duplicated background layer togather into the duplicated background layer.
(i used ctrl+j to duplicate so all my layer 1's are going togather)
Then we do the same for te backgrounds.
So we have to layers
then make sure it looks pretty good.
Then merge those togather
I got something along this line
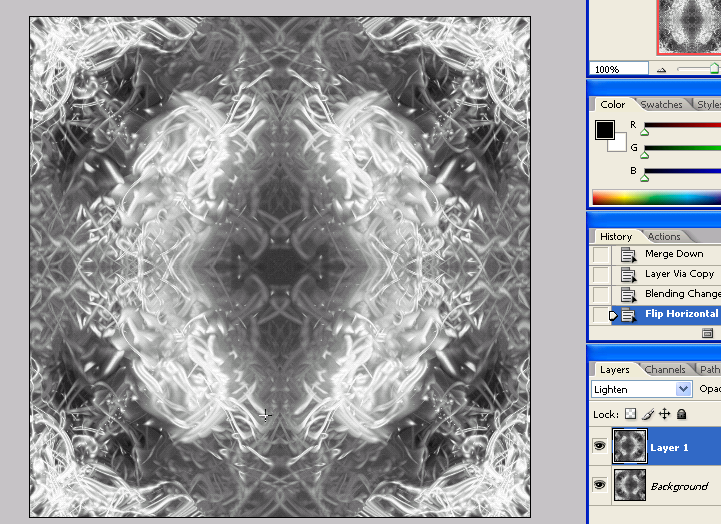
Step 6
Now we are going to duplicate the background layer.
Then go to edit>transform>flip horezontal.
Then change the blending option to lighten.
Then merge the two layers.
I got something like this
Step 7
Now duplicate the background layer
set its blending mode to lighten
go to Edit>Transform>Rotate 90 degrees CW
Then merge the layers togather
Step 8
Now this is one way you can leave it and go on to color or you can do what i did
by duplicating the background layer
Set its blending mode to lighten
Then push ctrl+t to do free transformation
and spin it where the line around the picture is a diamond.
This will create almost like a circle in the middle
then merge the layers
Leaving you with something like this
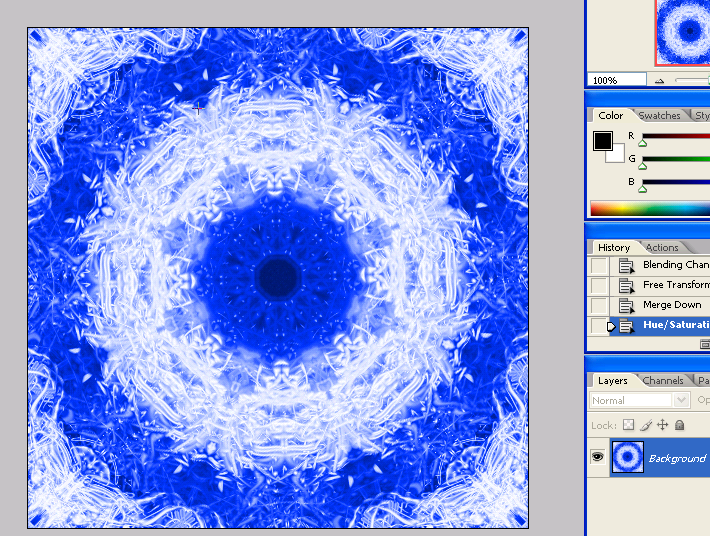
Step 9
Now we are gonna add some color
Feel free to do any color you want i just choose a basic blue for it
but all the layers must be merged togather.
Then push ctrl+U
and push colorize and mess around with it.
And thats it you have this wierd almost 3d tunnel abstract
Want to see some of my abstract pictures?
goto
http://www.freewebs.com/abstract-art
PLEASE post your results if you did this


 Reply With Quote